REVIEW · SYDNEY
Jervis Bay, Kiama & Kangaroo Valley Day Trip From Sydney-PVT
Book on Viator →Operated by King of Tours · Bookable on Viator
A day on the South Coast can feel like a sprint. This one strings together Kiama’s Blowhole, Jervis Bay’s beaches, and Kangaroo Valley in a single 11-hour outing that’s built for people who want big scenery without extra planning. It’s also private, so you’re not packed in with strangers and you can move through each stop at a comfortable pace.
What I really like is the hotel pickup style convenience and the fact that it’s a true private tour. I also like that the day includes thoughtful breaks—coffee/tea plus bottled water—so you’re not stuck calculating what you’ll pay for just to keep going.
One possible drawback: some stops have admission or ticket expectations that aren’t included (and at least one past customer felt the experience didn’t match what was advertised). So before you go, confirm which places need tickets and keep a little flexibility in your plans.
In This Review
- Key Points You’ll Care About
- Road-Trip Comfort From Sydney: Private Pickup and 11-Hour Flow
- Kiama Blowhole Stop: Coastal Power Up Close (and Tickets)
- Jervis Bay From Huskisson: White Sand Time With a Lunch Break
- Kangaroo Valley and Hampden Bridge: Green Hills Without the Rush
- Grand Pacific Drive and Sea Cliff Bridge: Big Views on the Return
- Bald Hill Lookout and Hang Gliding Spot: A Viewpoint Reset
- Price and Value: Is $357.90 Worth It?
- Who This Tour Suits Best (and Who Might Need a Plan B)
- FAQ
- How long is the Jervis Bay, Kiama & Kangaroo Valley day trip from Sydney?
- Does the tour include hotel pickup?
- Is this tour private or shared with other travelers?
- What’s included in the ticket price?
- Are admission tickets included for Kiama Blowhole and Sea Cliff Bridge?
- Is admission included for Jervis Bay and Kangaroo Valley?
- How far in advance is the tour commonly booked?
- What if I need to cancel last minute?
- What happens if the tour doesn’t meet the minimum travelers?
- Should You Book This Day Trip?
Key Points You’ll Care About
- Private tour for your group with hotel pickup, so you’re not hunting meeting points
- Kiama Blowhole, Sea Cliff Bridge, and Bald Hill Lookout are built into the route for classic views
- Jervis Bay and Kangaroo Valley stops are listed as free admissions, so you can spend on food instead
- Coffee/tea and bottled water are included, which matters on a long day
- Wi-Fi on board and an air-conditioned vehicle make the travel stretch easier
- In at least one real-world example, the operator adjusted the plan on request (including swapping in Featherdale Wildlife Park)
Road-Trip Comfort From Sydney: Private Pickup and 11-Hour Flow

This is an 11-hour day trip from Sydney, and the schedule accounts for about 5 hours 15 minutes of travel time. That’s a lot of time on the road, but the trade-off is that you get several South Coast highlights without needing a second car or a second day.
The biggest practical win is the private setup. Your group rides together in an air-conditioned vehicle, with bottled water and coffee/tea to keep you comfortable from start to finish. If you’re the kind of traveler who likes your day to have structure but not chaos, this format tends to work well.
Do note the day is long, and some parts feel like quick stops rather than slow wandering. If you love lingering at viewpoints, plan to pick your favorites and enjoy the rest without rushing your own “must-see” list.
You can also read our reviews of more tours and experiences in Sydney
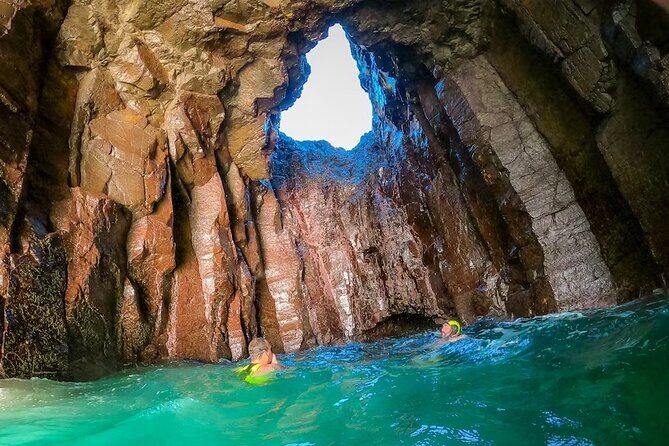
Kiama Blowhole Stop: Coastal Power Up Close (and Tickets)
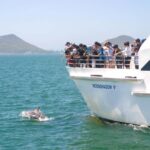
Your first major stop is the Kiama Blowhole, famous for dramatic bursts of seawater when conditions line up. The tour gives it about 1 hour, which is just enough time to see the spectacle and take photos if it’s performing well.
It’s also a ticketed stop in the sense that admission isn’t included. So if you’re budgeting, treat this as a likely extra cost rather than assuming it’s free like some of the other stops.
A smart move here: don’t plan to rely on one exact moment. Blowhole displays can depend on tide and wave action, so arrive, get your bearings, and then enjoy the coastal walk and views around the area while you wait for the next big splash.
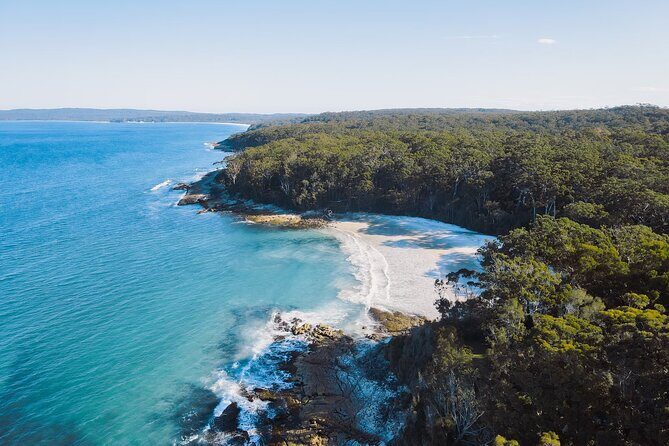
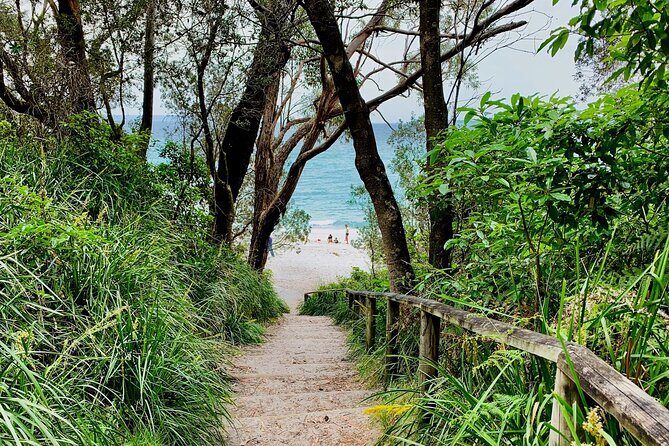
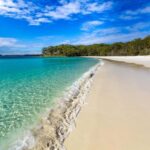
Jervis Bay From Huskisson: White Sand Time With a Lunch Break
Next comes Jervis Bay, one of those places where the beaches look almost unreal on a postcard. The tour heads to Huskisson for a quick lunch at the marina, then continues the Jervis Bay portion.
This stop is listed for about 2 hours, and it says admission is free. That matters because it helps you keep the day’s costs predictable—Jervis Bay is more about time on the sand and looking out at the water than paying for entry.
What I’d focus on during your time there is simple: walk, look, and pick one beach-style scene to enjoy properly. If you’ve only got a short window, prioritize a spot where you can see the water clearly and enjoy a slow reset from the long drive.
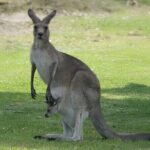
If you’re traveling with kids or anyone who gets restless in cars, this is the part of the day that usually “pays off” fastest. Give yourselves a little space to change pace—snack, stretch, and take a few photos—then move on before the day gets tight.
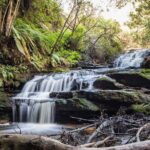
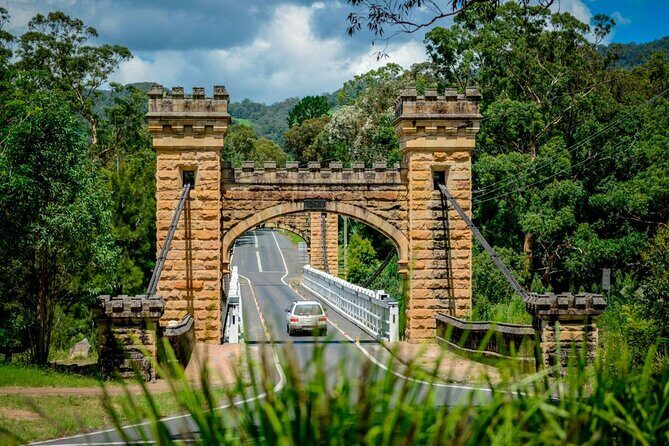
Kangaroo Valley and Hampden Bridge: Green Hills Without the Rush
After the coast, you head inland to Kangaroo Valley, known for rolling scenery, greenery, and a calm village feel. You get about 1 hour here, which is more about soaking in the atmosphere than doing a packed itinerary.
A highlight is Hampden Bridge, described as a historic bridge and the last something you might come across along the route. It’s the kind of stop that works well even if you’re not the most serious photographer, because it gives you something scenic and different from the beach.
This stop is listed as free admission, which helps keep the day balanced cost-wise. In an 11-hour tour, it’s nice when not every hour requires another ticket or another bill.
Practical tip: keep your time here flexible. If the weather shifts or you’re unsure about where to stand for the best views, you’ll want a little buffer, because the day still has driving time baked in.
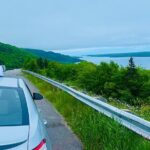
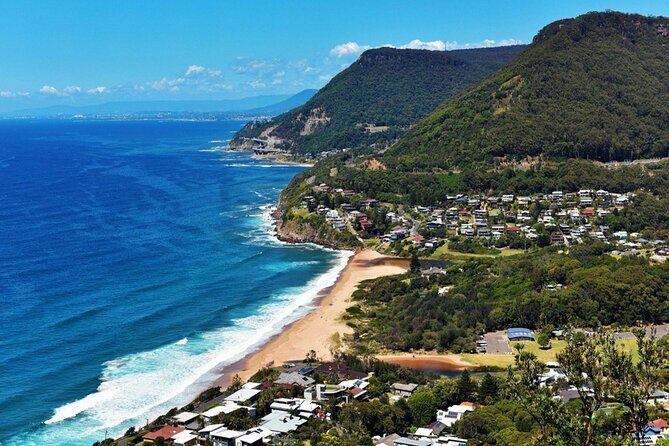
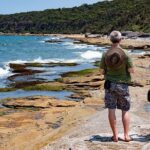
Grand Pacific Drive and Sea Cliff Bridge: Big Views on the Return
On the way back, the tour switches gears into scenic driving with Grand Pacific Drive and a crossing of Sea Cliff Bridge. This is a “you’ll remember this from the road” segment, especially if you enjoy coastline lookouts and photo angles you can’t really recreate from the ground.
You get about 1 hour total for this portion, and the tour notes that admission isn’t included for this stop. That doesn’t mean you can’t enjoy it, but it does mean you should expect that there may be a paid component.
If you want the best use of this hour, treat it like a viewpoint sprint with an easy rhythm. Spend a few minutes checking angles, snap what matters to you, and don’t overcomplicate the rest—there’s still more of the day after the bridge.
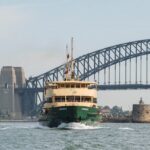
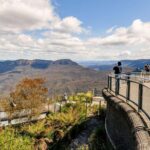
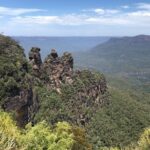
- Blue Mountains Small-Group Tour from Sydney with Scenic World,Sydney Zoo & Ferry
★ 5.0 · 3,709 reviews


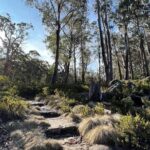
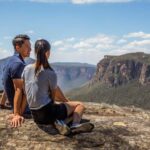
Bald Hill Lookout and Hang Gliding Spot: A Viewpoint Reset

Your final scenic stop is Bald Hill Lookout. You’re given about 45 minutes, which is enough time for a look out over the Illawarra region and for a quick walk around a lookout area without feeling rushed.
This stop is also listed as not included for admission, so it’s another place to keep your expectations aligned. If you’re trying to keep total spending under control, this is where you’ll want to know the ticket situation before you arrive.
The reason I like having a final viewpoint stop is psychological. After long driving and multiple “landmarks,” a lookout gives you a clean ending where you can actually feel like you finished something—rather than just getting dropped back at the hotel.
Price and Value: Is $357.90 Worth It?
At $357.90 per person, this tour isn’t cheap. But private day trips cost more because you’re paying for convenience and reduced friction: your group, air-conditioned transport, hotel pickup, and included basics like bottled water and coffee/tea.
The value case is strongest if you want a day that feels easy to manage. When you’re doing Jervis Bay and Kiama from Sydney independently, you’re usually juggling parking, timing, where to eat, and how to fit in scenic stops without making the drive feel like a second job.
The day also has built-in “cost control” areas: Jervis Bay and Kangaroo Valley are listed as free admission, so a big chunk of your time is spent outside fees. Then you have a couple of ticketed stops—like Kiama Blowhole and Sea Cliff Bridge—which is where the spending can creep up.
Here’s the balanced way to decide: if you’re traveling as a family or a small group and you’d otherwise rent a car and pay for your own fuel, parking, and snacks, the price starts to make more sense. If you’d rather go at your own pace with zero ticket surprises, you might want a flexible self-drive plan.
One more note: the tour has a 3.9 rating across 8 reviews, and at least one person felt the experience didn’t match what was advertised. That doesn’t automatically mean it’s a bad trip, but it does mean you should read ticket inclusions carefully before booking.
Who This Tour Suits Best (and Who Might Need a Plan B)
This tour fits best if you want three big regions in one day: coast (Kiama + Jervis Bay), valley (Kangaroo Valley), and scenic return (Grand Pacific Drive + Sea Cliff Bridge). If you prefer a guide who handles routing and you’d rather focus on seeing rather than planning, this is the right style.
It also tends to suit families and mixed-age groups. The coffee/tea, bottled water, and air-conditioned vehicle matter more than people expect on a long schedule. Kids often do better when the day includes frequent “legs” to stretch and look around.
If you’re the kind of traveler who wants to spend hours at one beach or one viewpoint, you may feel the day is too “stop-and-go.” A private tour helps because the pace can feel calmer than a large group, but the itinerary still has fixed time blocks.
FAQ
How long is the Jervis Bay, Kiama & Kangaroo Valley day trip from Sydney?
It runs for about 11 hours (approx.), with travel time accounted for in the total schedule.
Does the tour include hotel pickup?
Pickup is offered, and the experience is described as private transportation with pickup included.
Is this tour private or shared with other travelers?
This is a private tour/activity, meaning only your group participates.
What’s included in the ticket price?
Included items are bottled water, coffee and/or tea, an air-conditioned vehicle, private transportation, and WiFi on board.
Are admission tickets included for Kiama Blowhole and Sea Cliff Bridge?
Admission for Kiama Blowhole and Sea Cliff Bridge is noted as not included.
Is admission included for Jervis Bay and Kangaroo Valley?
Jervis Bay and Kangaroo Valley are listed with admission noted as free.
How far in advance is the tour commonly booked?
On average, it’s booked about 96 days in advance.
What if I need to cancel last minute?
You can cancel for a full refund up to 24 hours in advance of the experience’s start time.
What happens if the tour doesn’t meet the minimum travelers?
If it’s canceled due to minimum traveler requirements, you’ll be offered a different date/experience or a full refund.
Should You Book This Day Trip?
If you want a one-day hit of Kiama, Jervis Bay, and Kangaroo Valley with private pickup and no need to coordinate logistics, this tour can be a strong value. The included drinks, Wi-Fi, and air-conditioned transport help the long drive feel manageable, and the route covers both coast and inland scenery.
I’d book it if your priorities are classic landmarks, scenic driving, and letting a guide handle the plan. I’d think twice if you’re sensitive to ticket surprises at stops noted as not included, or if you expect lots of slow time at one place. When in doubt, confirm what’s ticketed before you go, then you’ll enjoy the day a lot more.
You Might Also Enjoy
More 1-Day Tours in Sydney
More Tour Reviews in Sydney
- Blue Mountains Small-Group Tour from Sydney with Scenic World,Sydney Zoo & Ferry
★ 5.0 · 3,709 reviews