REVIEW · SYDNEY
Sydney Photography Course in the Historic Rocks Area
Book on Viator →Operated by Alfonso Calero Photography · Bookable on Viator
Your camera needs better directions.
In The Rocks district of Sydney, this 2.5-hour photography course gives you hands-on guidance to turn what you see into a stronger shot, from manual mode basics to practical composition fixes. I like that it keeps you moving through the historic laneways while you practice for real views like the Sydney Harbour Bridge and Sydney Opera House.
The standout for me is the human factor: Alfonso Calero Photography runs a small class, so you get more personal attention instead of generic tips. One thing to consider first: you must bring your own camera, and the experience depends on good weather, since it’s designed around outdoor photo time.
In This Review
- Key Takeaways Before You Bring Your Camera
- Why The Rocks Makes Such a Good Photo Classroom
- The Lesson Plan: Manual Mode, Exposure, and Shutter Speed
- Stop 1 in The Rocks: Historic Streets and Photo Angles
- Stop 2: Sydney Photography Tours Practice Time
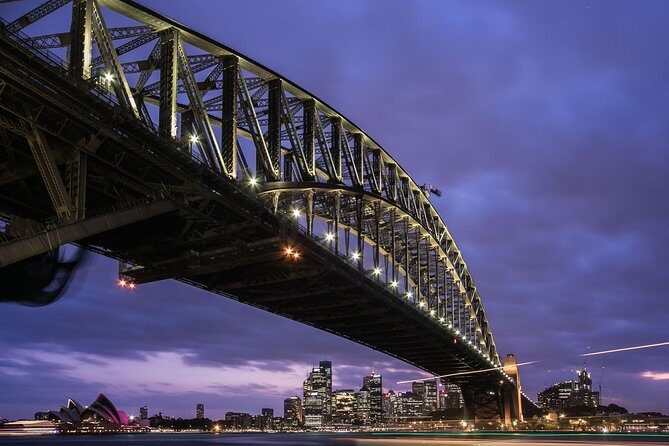
- Spotting the Best Shots for the Harbour Bridge and Opera House
- Day vs Night: Choosing Afternoon or Nighttime for Better Results
- What Small-Group Attention Changes (and Why It Matters)
- Price and Value: Why €154 Can Make Sense
- What to Bring (So You Can Actually Use the Lesson)
- How to Get the Most From Your 2.5 Hours
- Who This Course Is Best For
- Should You Book This Sydney Photography Course in The Rocks?
- FAQ
- Where does the Sydney photography course start?
- How long is the course?
- Is the class offered in the afternoon and at night?
- How many people are in the group?
- Do I need to bring my own camera?
- What landmarks are included in the photo opportunities?
- What’s included in the price?
- What is the cancellation policy?
Key Takeaways Before You Bring Your Camera
- Small-group limit (max 10): enough time for questions without feeling rushed.
- Manual-mode coaching: learn how shutter speed, exposure, and composition work together.
- Two time slots available: pick an afternoon or nighttime class based on the kind of light you want.
- Photo spots around The Rocks: practice with views of the harbour and iconic architecture nearby.
- Course notes included: you leave with something to refresh your settings later.
Why The Rocks Makes Such a Good Photo Classroom
The Rocks is one of those places where your camera can’t help but find subjects. Historic sandstone buildings, tight laneways, and classic Sydney sightlines give you variety in a short time. That matters, because a 2-hour session is only useful if you can test ideas quickly and see results.
This course uses that environment like a studio you can walk through. You get to work on what typically trips people up: exposure choices, what shutter speed is really doing, and how to frame with intention instead of luck. If you’ve ever taken ten photos and wondered why none of them feel crisp, this is the kind of training that fixes that.
You can also read our reviews of more historical tours in Sydney

The Lesson Plan: Manual Mode, Exposure, and Shutter Speed
You’ll learn how to use your digital camera in manual mode, but in a way that’s tied to what you’re pointing at. The goal isn’t to memorize settings. It’s to make your camera behave the way you want.
Here’s what that usually means in practice:
- Composition gets addressed early, so you’re not just changing settings and hoping for the best.
- Exposure basics help you stop fighting dark shadows or blown highlights.
- Shutter speed advice helps you decide whether you want motion blur (creative and useful) or tack-sharp details.
Because the guidance is customized, you don’t have to start from the same level as everyone else. I also like that course notes are included, since it’s easier to remember what you changed and why once you’re back home.
Stop 1 in The Rocks: Historic Streets and Photo Angles
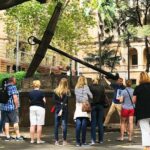
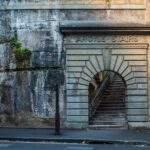
The first stop is The Rocks itself, with the historic sites and sandstone buildings spread throughout the laneways. This is where you start connecting camera controls to real scenes. It’s one thing to read about exposure; it’s another to apply it while you’re standing between bright storefront light and deep alley shadows.
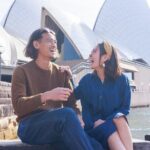
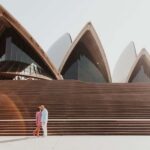
You’ll also move toward photo opportunities tied to Sydney landmarks. The course is set up so you can practice shooting iconic structures like the Sydney Harbour Bridge and the Opera House from vantage points that make sense in the street layout. That street-level context is useful. It helps you learn how to include foreground texture, leading lines, and negative space without turning your shots into a chaotic mix.
Potential drawback: if you’re brand-new to manual mode, you’ll want to pay close attention at the start. This isn’t a slow, step-by-step lecture only. It’s a shoot-and-adjust lesson.
Stop 2: Sydney Photography Tours Practice Time
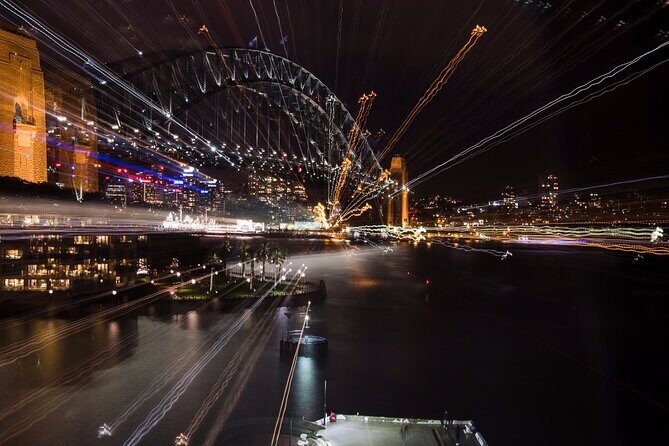
The second stop is listed as Sydney Photography Tours, and the way the tour is structured suggests this is where you regroup and keep sharpening your approach. In a short, guided session, that kind of pause matters. It gives you a chance to correct the most common mistakes before you run out of time.
You can think of this portion as practice that builds on the earlier walking segments. If your first set of photos is too dark, too bright, blurry, or poorly framed, this is the moment to fix it with direct feedback. The course notes help too, since you can reference what your guide told you as you adjust.
Spotting the Best Shots for the Harbour Bridge and Opera House
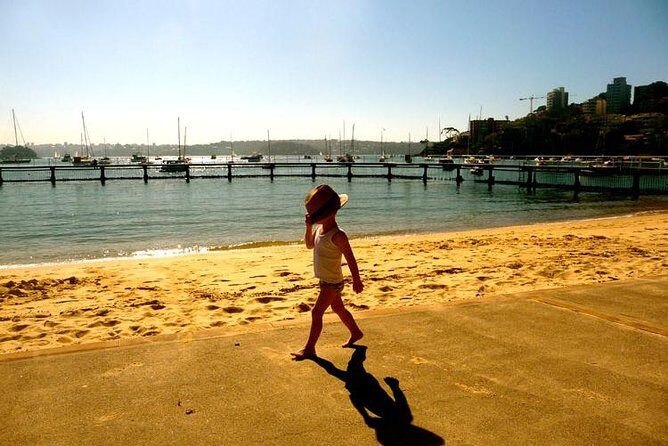
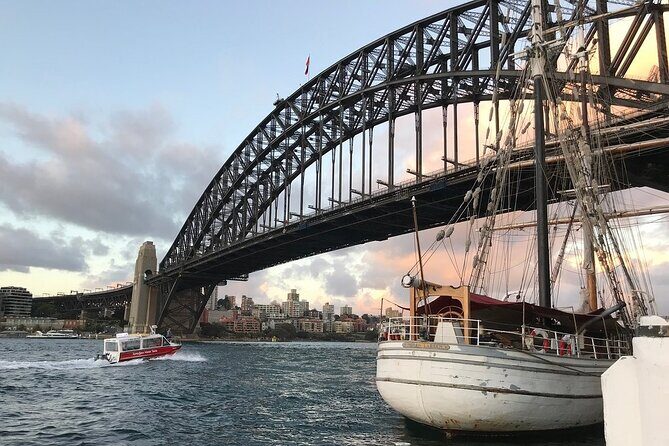
This tour doesn’t just point at monuments and call it a day. It puts you in locations where you can frame the Sydney Harbour Bridge and Sydney Opera House with more thought. That’s valuable because both landmarks are easy to photograph badly. You can end up with the bridge too dominant, the Opera House too small, or the horizon and lines that look fine to your eyes but fall apart in a photo.
What I like about this approach is that you’re practicing the key decisions:
- Where the horizon goes in the frame
- How wide you shoot so you keep the setting without losing the subject
- How you handle light so the sky and buildings don’t fight each other
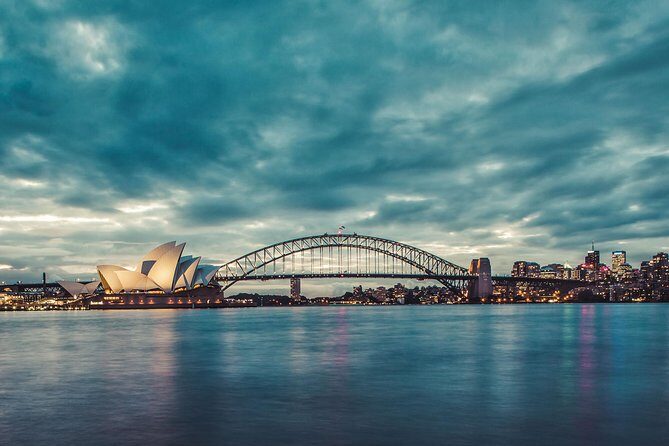
If you choose the nighttime class, you’re also likely setting yourself up for different exposure decisions than you would in daylight. That’s one reason this tour offers both options.
You can also read our reviews of more photography tours in Sydney

Day vs Night: Choosing Afternoon or Nighttime for Better Results
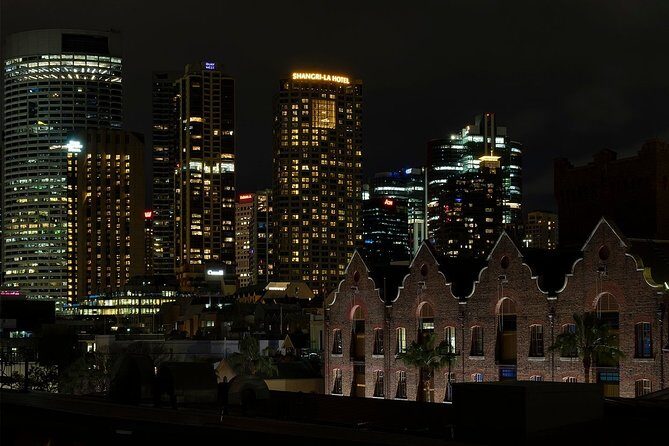
You can pick an afternoon or nighttime class, which is a smart option for a photography course. Light changes how your camera behaves, and it changes the types of photos you’ll want.
In daylight, you’ll usually have an easier time seeing what’s happening with shutter speed and composition without squinting at your screen. At night, you’ll deal with lower light and often need to think harder about exposure choices, steadiness, and how to keep the subject clear.
My practical advice: if you feel rusty with manual mode, start with the time slot that matches your comfort level. If you’re ready to challenge yourself, night is where the lesson becomes extra useful. Either way, you’re getting the same guided framework—just tuned to different lighting.
What Small-Group Attention Changes (and Why It Matters)
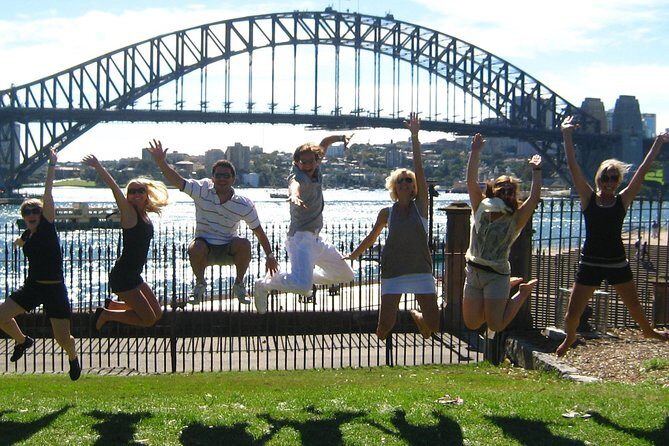
The course caps the class at 10 travelers, and that’s not just a number. In a group this size, you can actually get answers instead of repeating your question into the void. You can also try something, get feedback, then try again right away.
The reviews point to the guide’s style too. Alfonso is described as approachable, friendly, and knowledgeable, and that tone matters when you’re learning camera controls. Nobody wants to feel judged for not knowing the difference between exposure and metering or for choosing a shutter speed that didn’t freeze the action.
This is also why the course notes help. When a guide explains something in the field, you still need a quick reference later. Notes make that easier, especially if you’re juggling camera settings while walking.
Price and Value: Why €154 Can Make Sense
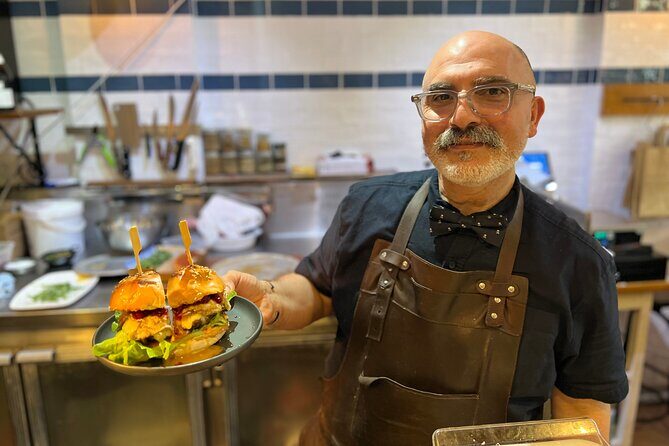
At €154 for about 2 hours 30 minutes, this isn’t the cheapest way to spend an afternoon in Sydney. But it can be good value if you’re trying to improve fast rather than collecting random souvenirs with your camera.
You’re paying for:
- A professional photography tutor/guide
- Personalized lessons focused on manual mode
- Course notes
- Direct help with composition and exposure decisions
What you’re not paying for is food or drinks, and there’s no hotel pickup/drop-off. For some people, that’s a downside. For others, it’s freeing: you can fit the class into your day without planning for someone else’s schedule. Also, because the tour starts at Kendall Lane in The Rocks, you’re already in the right area for other nearby exploring if you want to extend the day.
What to Bring (So You Can Actually Use the Lesson)
Here’s the part people forget: bring your own camera. The course expects you to shoot with your own gear so the manual-mode advice is relevant. If you leave it behind, you’re basically watching a slideshow instead of learning camera control.
You should also be ready to experiment. The best results come when you try a change, review the result, and make another adjustment—exactly what this format encourages.
And since the experience depends on good weather, plan to dress for the conditions. If rain or poor weather hits, the provider may offer a different date or a full refund.
How to Get the Most From Your 2.5 Hours
You’ll get better quickly if you arrive with a bit of intent. You don’t need to show up knowing everything, but you should have a few questions ready, like:
- Which setting do I usually mess up?
- Are my photos too dark, too bright, or not sharp enough?
- What do I want to shoot: bridges, architecture, portraits, or street scenes?
Also, think about what you want your final photos to feel like. Do you want clean, sharp landmark shots? Or do you want more dramatic motion or mood? The guide’s tips on shutter speed and exposure will make more sense if you know your target style.
One last thing: take breaks and look with your eyes first. It’s easy to stare at your screen constantly. The best photographers use the view first, then the camera.
Who This Course Is Best For
This course works best if you:
- Want to improve manual mode without getting stuck in theory
- Like shooting architecture and landmark scenes
- Prefer small-group instruction you can actually interact with
- Want a practical guide through one of Sydney’s most photogenic areas
Most people can participate, and it’s near public transportation, which helps if you’re building the class into a day exploring Sydney. Service animals are allowed too, which is a helpful detail if you travel with one.
Should You Book This Sydney Photography Course in The Rocks?
If you want fast, practical improvement, I’d say yes. The mix of historic surroundings, landmark photo opportunities, and direct guidance on manual camera controls makes this a solid use of time. The course is also well reviewed, with a strong emphasis on Alfonso’s approachable teaching and the chance to experiment.
Book it if:
- You’re ready to practice in real scenes
- You want specific feedback on composition and exposure
- You can bring your own camera and plan around the weather
Skip it if:
- You only want a casual walk with photos and no focus on camera settings
- You’re not interested in learning manual controls at all
- You need hotel pickup or an all-in bundle with food and drinks
FAQ
Where does the Sydney photography course start?
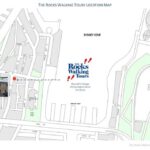
It starts at Kendall Ln, The Rocks NSW 2000, Australia.
How long is the course?
The duration is about 2 hours 30 minutes.
Is the class offered in the afternoon and at night?
Yes. You can choose from an afternoon or nighttime class.
How many people are in the group?
The experience has a maximum of 10 travelers.
Do I need to bring my own camera?
Yes. Bring your own camera.
What landmarks are included in the photo opportunities?
You’ll have photo ops of places including Sydney Harbour Bridge, Sydney Opera House, and historic sandstone buildings in The Rocks.
What’s included in the price?
The course includes a photography tutor/guide and course notes.
What is the cancellation policy?
Free cancellation is available. You can cancel up to 24 hours in advance for a full refund, and changes made less than 24 hours before the start time aren’t accepted. The experience also requires good weather, and if it’s canceled due to poor weather you’ll be offered a different date or a full refund.
You Might Also Enjoy

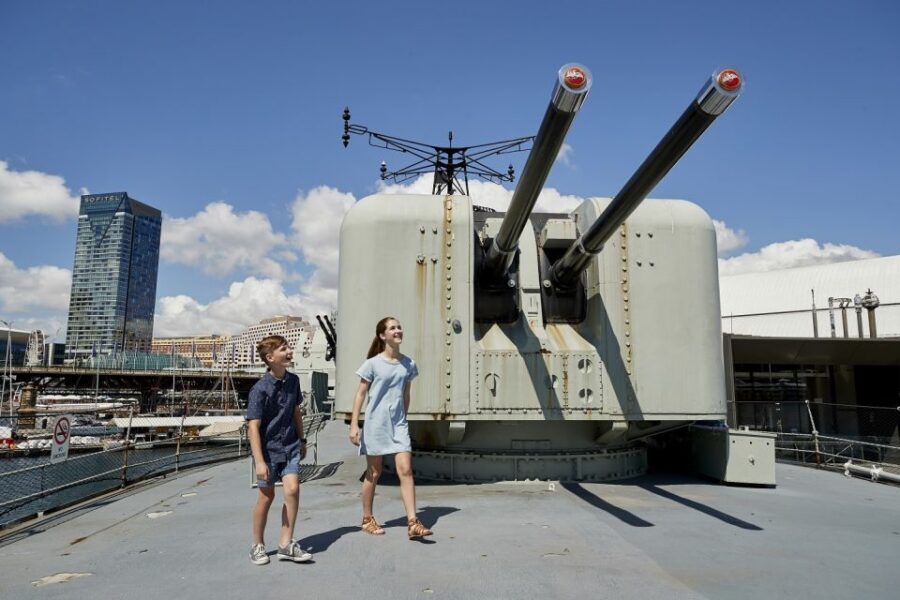
More Photography Tours in Sydney
More Historical Tours in Sydney

More Tour Reviews in Sydney
- Blue Mountains Small-Group Tour from Sydney with Scenic World,Sydney Zoo & Ferry
★ 5.0 · 3,709 reviews